Installing QuickLinks
![]()
Installing QuickLinks
Note: for those having trouble with the installation from the web, see Manual Install below
For you current users of QuickLinks with older versions, the installation mechanism has changed from using a zipped file to using a web installer. This may be painful when installing the first time with this mechanism. But future updates will be very simple. You will need to run it from windows Internet Explorer as other web browsers do not support running ClickOnce program installations. So if you are reading this on a different browser, please copy the link and open it in Internet Explorer.
New users, skip down to step # 4.
1. If you have QuickLinks
installed on your computer and QuickLinks version was installed
prior to July 2011 then you will need to uninstall QuickLinks.
To determine what version of QuickLinks that you have installed,
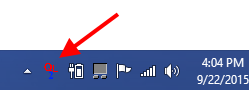
double-click on the QuickLinks icon ![]() in the notification bar and then in the QuickLinks window look
in the title bar of its window
in the notification bar and then in the QuickLinks window look
in the title bar of its window ![]() .
If there is no version in the title bar, then you definitely need to uninstall
QuickLinks because your version is older. If you have QuickLinks
Helper apps installed, you will also need to uninstall them and
install the newer versions.
.
If there is no version in the title bar, then you definitely need to uninstall
QuickLinks because your version is older. If you have QuickLinks
Helper apps installed, you will also need to uninstall them and
install the newer versions.
2. First you will need to make sure that QuickLinks is not running. To close it, right-click on the QuickLinks icon in the notification bar and in the pop-up menu click on Exit.
![]()
Now to uninstalling QuickLinks.
3. Open the windows Control Panel and if you are running windows XP then open Add/Remove Programs or if you are running Vista or Win7 then open Programs and Features. Now find QuickLinks and uninstall it from your computer. If you have QuickLink Helper Apps installed, then locate them and uninstall them. They are named StartQLwithA (where the last letter represents the link letter A through F).
Now let's Install QuickLinks
4. Click on this link (Install QuickLinks) to open the web installer in another tab (make sure you are running Internet Explorer). Once in that tab you will see the button Install QL (it's the top button in that page), just click on it.
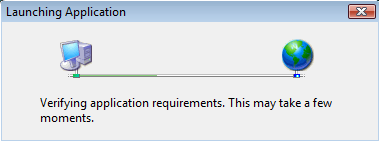
a. You will briefly see the small window below. (on your system it may take several seconds before you see this)
b. Next you will see the following window. When you see it, click on the Install button.

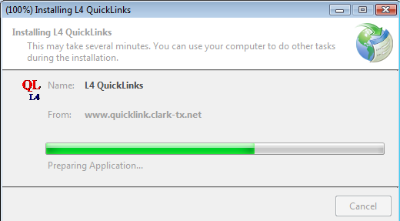
c. Then you will see this window as the installer downloads the files:
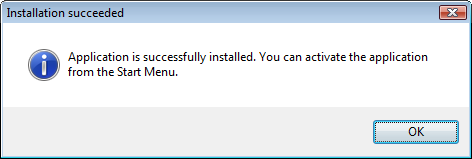
d. And once that the installation is done you will see this window, click the OK button:
e. Now if you want the Helper Apps installed, repeat steps 4 through 4d for each Helper App.
f. Now the software installation is complete. But you will need to follow a few more steps to ensure that QuickLinks works properly with Logos 4.
Adding QuickLinks to the Logos 4 shortcut bar
5. QuickLinks needs Logos 4 running and stable before it is started. So the best way to ensure this is to add QuickLinks shortcut to the Logos 4 shortcut bar.
a. Open Logos 4 and wait for it to finish all its loading.
6. If you will be using Helper Apps, then you will not need a shortcut for QuickLinks since the Helper Apps automatically starts QuickLinks. You will be dragging QuickLinks or Helper Apps from the start menu to the Logos 4 shortcut bar.
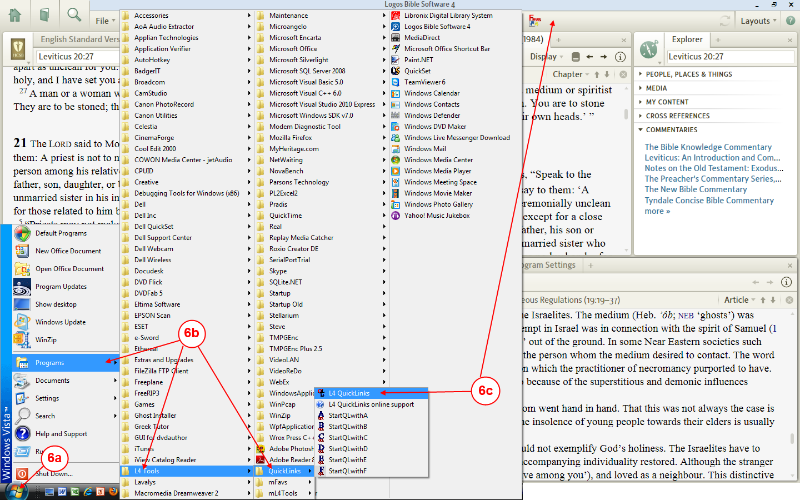
a. Click on the windows Start button.
b. Now navigate to Programs -> L4 Tools -> QuickLinks -> L4 QuickLinks (or the Helper Apps)
c. With your mouse click and drag the L4 QuickLinks (or the Helper Apps, one at a time) shortcut to the Logos 4 shortcut bar and drop it there.
[you will not need to repeat adding these shortcuts in your other computers]
7. If you have Logos 4 installed on other computers you will need to repeat the above steps (steps 1 through 4) on each of your other computers.
Manual Installation of QuickLinks & its Helpers
For those of you who cannot get the internet version of QL to install, the zipped files below can be extracted to a known location and run. If you have a previous version of QL or the Helpers installed you will first need to uninstall them using the Control Panel as mention above. Then windows will allow you to run the installation via the manual mode.
QuickLinks Manual Installation.zip
Helper Apps Manual Installation.zip
- Download the zip file
- Extract all files & folders from the zip file.
- To install QL double click on the extracted file L4 QuickLink.application
- To install Helper apps double click on each of the Helper app files which have a file extention .application
I have built a newer version of QuickLinks (QuickLinks2). It is mostly the same as the original QuickLinks, with the following difference:
- It does not support Helper Applications.
- It has a new notification icon
- Destination Resources can now have Logos link letters applied to them
(QL1 did not navigate to a destination if the destination had a Link letter) -
Changed the Control window to have navigate buttons (this replaces Helper apps)

- The Control window now can sit in the taskbar
(right-clicking on the navigation icon to show the popup menu, then click on Show)
Once in the taskbar, you can click the QL2 taskbar icon to toggle showing it. - Note: if you use Hide in the Control window, then QL2 will remove it from the taskbar and you will need to use the Right-click menu to bring it back.
- Open Logos before you install QuickLinks2.
After installing QuickLinks2, windows will try to open QuickLinks2.
QuickLinks2 always checks to see if Logos is running when it starts up, QL2 needs Logos running in order to work. - Click this link to open installation page
- Click on the Install button
(your browser will ask to Save or Run depending on the browser) - If your browser asked to Save, then locate the Setup.exe file that it downloaded.
Then double-click on the file in your browser's dowload folder (or right-click and choose Open) - Windows will probably ask if you want to run this unkown application, Allow it to run (it is safe).
- You will then see the Install window popup, click on the Install button
- After installing, windows will probably ask you if you want to allow Quicklinks2 to run, Allow it to run (it is safe)
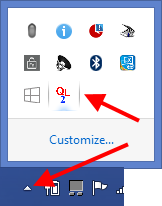
(in the future QuickLinks2 will check for updates prior to starting, so you probably will not need to do the above steps again) - After QuickLinks2 opens, windows may hide the notification icon in the notification overflow.
If it does this, then view the overflow and drag the QL2 icon to the notification bar and drop it there.
- Now you are ready to use QuickLinks2 with Logos.